We are happy to announce that we have finally completed version 2 of the Quform WordPress plugin! The update includes many requested features and improvements, along with more modern theme styles. Under the hood, a lot has changed that will help us release feature updates faster in the future.
New Feature Highlights
- Multi-page forms
- Editing entries
- Side-by-side elements in the form builder
- Vastly improved form builder speed when adding elements
- Preview while building
- Separate movable submit button
- Many more themes
- New elements – Name, Multi Select and Column Layout
- Unlimited notification emails
- Conditional confirmation messages and redirects
- Export entries directly to a .xls, .xlsx, .csv, .ods or .html file
- Entry label system
- RTL support
Migrating From Quform 1.x
Quform 2 is not backwards compatible with Quform 1.x, so when you first install Quform 2 you will notice that there are no forms yet even if you had created some using Quform 1.x. We’ve added a migration tool to copy all existing forms and entries to Quform 2. See the migration guide for more information.Try It Out
What’s New
Multi-page forms
This is probably the most requested feature, and now it’s here. Add a new page or duplicate an existing one from the top bar in the form builder. You can also drag them around to reorder.
By default if the form has pages a progress bar will be displayed above the form, this can be configured at Settings → Style → Pages.

Editing entries
Another much requested feature, you can now edit entries (submitted data). There are links to edit an entry when viewing the entry and in the list of entries.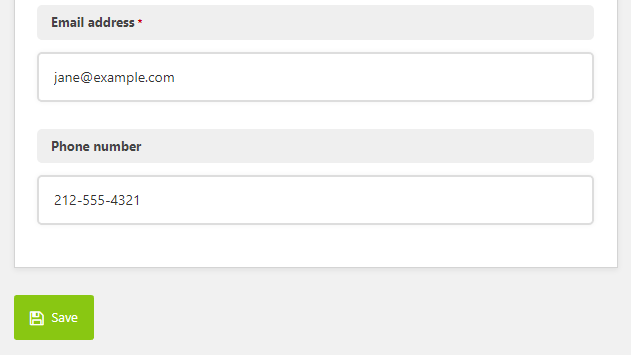
Entry label system
We’ve added a new system for managing entries, you can create any number of labels and choose a color and label text, from the entries table settings (cog icon in top right).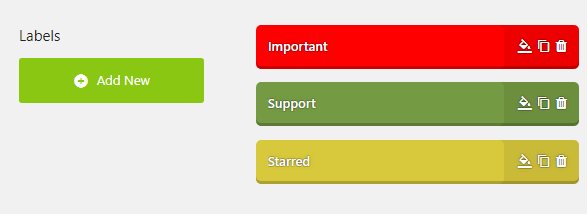
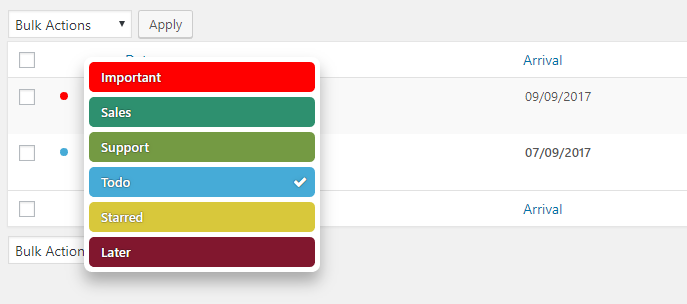
You can then assign any number of labels to entries. A small color indicator will appear on the entry table.
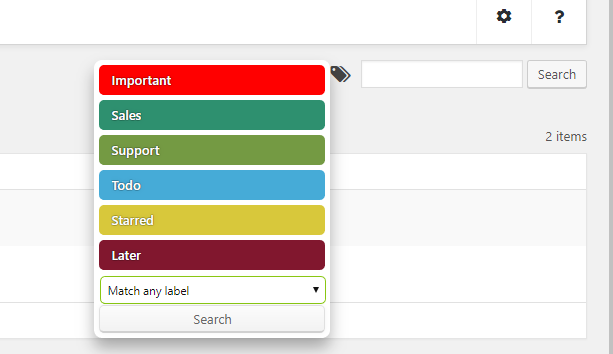
You can also search for entries with a specific label, using the label icon next to the search box.
Form builder improvements
In the form builder you can now have elements side-by-side for more intuitive column building. We’ve split the column settings out from the Group settings to a separate element named Column Layout to make it more obvious how to add a column layout. You can put a column layout inside a group and nest columns inside other columns. In the settings for the column layout you can set custom column widths and choose which screen size to go full width for a responsive layout.
We’ve added a live preview panel to the form builder, which will refresh automatically when you make a change to the form. You can change the size of the preview panel using the middle drag bar and show/hide it using the buttons on the top right of the dark top bar.
The speed of adding elements has increased greatly, it now happens without an Ajax request. You can now also duplicate any element, group or page with one click.
Notifications
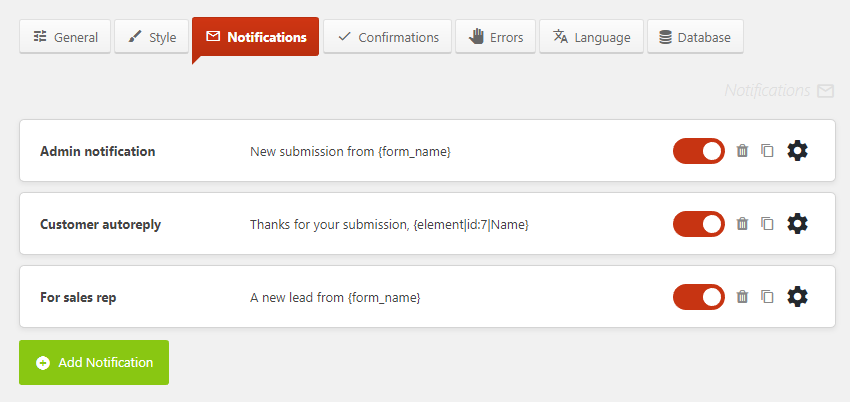
Instead of the two emails you can configure in Quform 1.x (Notification email and Autoreply email), you can now add any number of notification emails to the form. You can also configure conditional logic that determines whether or not to send the notification, conditional recipients to determine who to send to, and add email attachments from the media library or a File Upload form element.
On a related note, the email sending settings have been removed from the plugin. All emails are now sent using wp_mail() which opens up more possibilities for configuring email sending (for example OAuth) using other plugins. This means if you had configured Quform to send form data via SMTP, you will now need to install another plugin to make wp_mail() send email via SMTP. A popular plugin for this is WP Mail SMTP. Another useful plugin is the Post SMTP plugin which has full SMTP support with a friendly UI and more advanced features such as OAuth support and integration with Gmail API, Sendgrid, Mandrill and more.
Confirmations
Also new in this update is the confirmations system. Instead of just choosing to show a success message or redirect to another page there are additional options. In addition to these options you can now configure a confirmation to use conditional logic to show a different message or redirect to a different page depending on submitted form values.
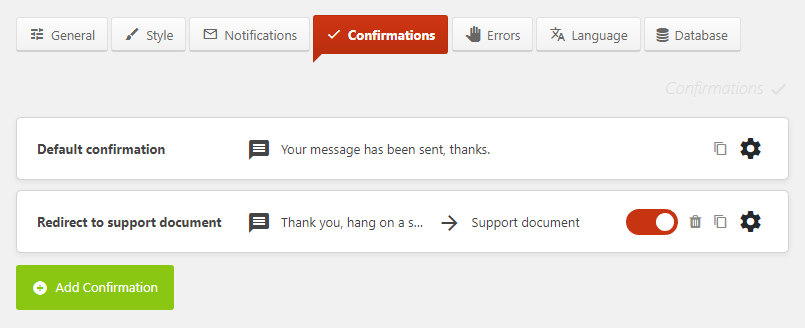
Each additional confirmation after the default one requires a logic rule. If the rules match, that confirmation is used, otherwise the default confirmation will be used. You can now show a message then redirect after a delay, and add the submitted data as query parameters to the redirect URL.
Much much more!
There are so many changes and improvements over the last version it would take too long to list them all. Why not take a look for yourself?

